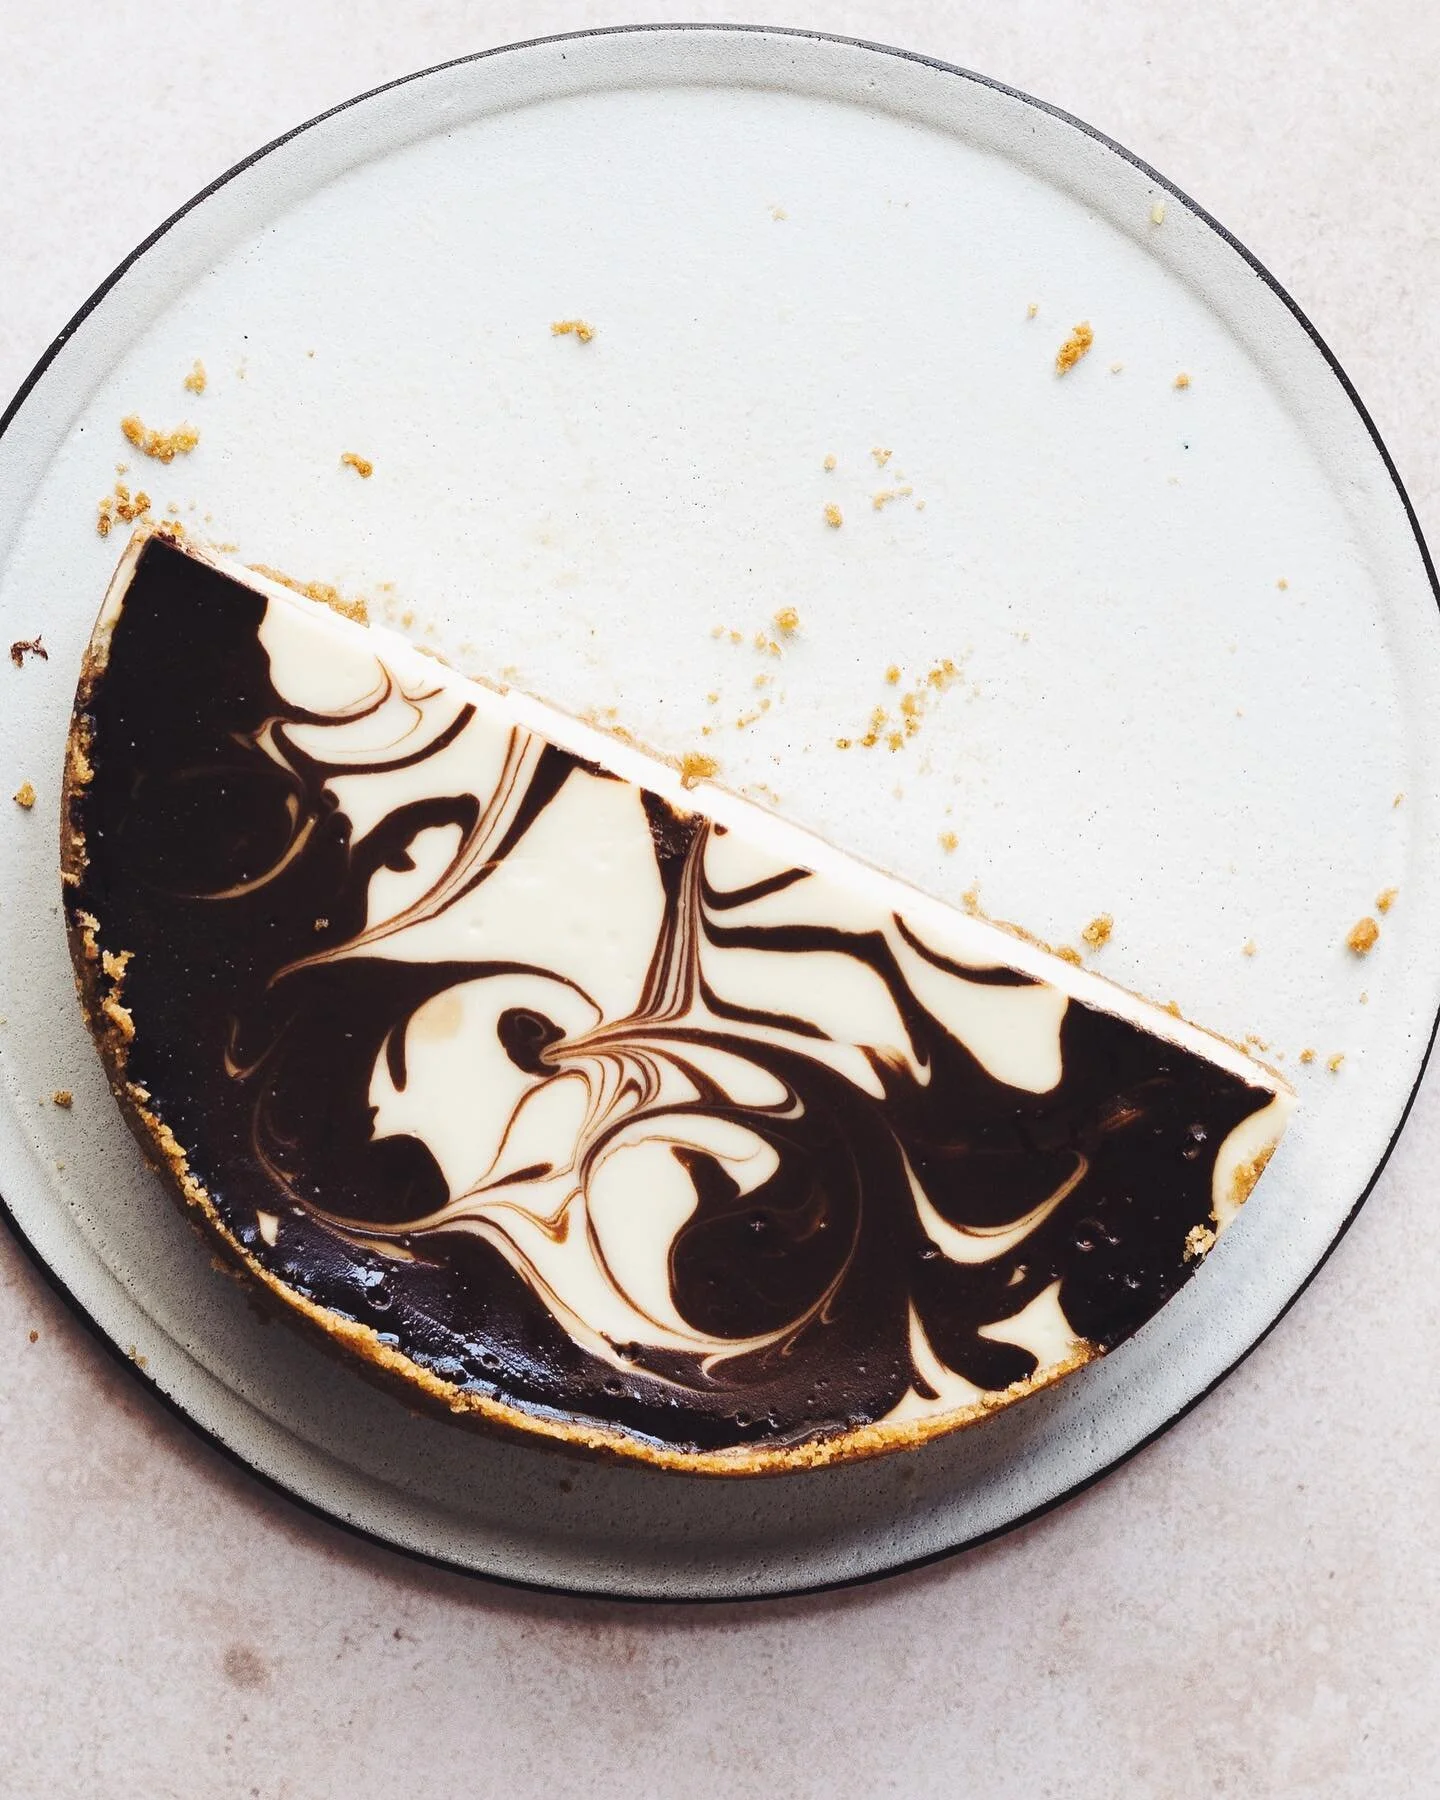
Chocolate chunkies friandies {no bake + gluten free option}

Chocolate chunkies1.jpg

Your High Holiday FRIENDies!

Rosh Hashanah kicks off the beginning of a month-long celebration of Jewish holidays, traditionally eating sweet foods and expressing our wish for a sweet year.
These grown-up decadent chunky "truffles" bars and oh-so-easy recipe can be serve as Rosh HaShanah dessert or as a lovely hostess gift, and pair especially nicely with tea.

These little treats -- friandies -- were born while I was a pastry chef at Rialto. After my first dessert menu change, and a few holiday parties, I found myself with bits of garnishes and dessert components that I realized I could repurpose. I used the leftover espresso-cardamom chocolate ganache from the espresso float dessert as the base, and whatever we had on hand, went in the mix; granola from the brunch menu, crushed croquant from a special birthday cake order, dried cherries in port from a holiday party tart, toasted pistachios, bits of halvah and crushed meringue cookies from the semifreddo dessert…

All this goodness was poured into a baking pan lined with plastic wrap, chilled in the fridge for a few hours until set. A heavy dusting of good quality cocoa powder on top, and voila, the most decadent friandies to serve the Rialto guests at the end of a meal. It turned out to be a huge hit!

Shana tovah ve metoka! xoxo

Chocolate chunkies2.jpg

Chocolate chunkies

By Tal Shofman-Schejter

Makes about 45 chunkies

This recipe is versatile, you can use whatever you have on hand; spices, toasted nuts, dried fruits, chunks of halvah, liquors, gluten free or regular crushed cookies such as macaroons, digestive biscuits and other flavoring of your liking. The chunkies will keep in the fridge for a couple of weeks and if they don't disappear until then, you can easily freeze them in resalable bags or in an airtight container. These little morsels are quite addictive!

Baker’s notes:

  • Since only a handful of ingredients make this recipe, it is important to use the best quality ingredients you can find, it makes all the difference! Especially when choosing chocolate and cocoa powder. I recommend using chocolate that contains at least 53% cocoa solids.

  • Don't omit the salt. It brings out the chocolate flavor, you can't really taste it and a little goes a long way.

  • The chunky mixture will fill only 9 x 5 inches of a 1/4 sheet pan. You can create your own adjustable pan by using aluminum foil or simply use a 9 x 6 inches toaster oven baking tray if you have one around, the chunkies will be slightly thinner.

  • I inch pieces are perfect size for these chunkies as they are rich!

Ingredients
For the ganache:
200 gr. chocolate chips, at least 53% cocoa solids
80 gr. unsalted butter
1/4 cup heavy cream
1 tablespoon honey
1 tabelspoon brandy (optional)
1 teaspoon espresso powder
a pinch of ground cardamom
1/8 teaspoon kosher salt
For the chunkies:
50 gr. petit beurre, vanilla wafers and any other cookie, broken into small pieces
60 gr. dried cranberries or cherries
1 tablespoon granulated sugar
1/3 cup port
60 gr. dried apricots, cut into small dice
2 each large meringue cookies, crushed into small pieces, about 1/2 cup
60 gr. pistachios/blanched slivered almonds/hazelnuts, toasted

To serve
Good quality cocoa powder

Method
Line a 9 x 6 inch baking pan (see notes*) with a layer of plastic wrap, leaving a few inches overhang on all sides.

The ganache
Put all the ganache ingredients in a heatproof bowl in a double boiler set over a pan of simmering water. Making sure bowl doesn't touch the water. Gently melt, stirring with a whisk until smooth.

The chunkies
In a small pot bring port and sugar to a boil and add the dried cranberries/cherries. Simmer for 2 mintues, turn off the heat and let stand until it cools down to room temp. Strain and add with the rest of the ingredients to the chocolate ganache and stir gently with a rubber spatula until everything is well mixed.

Pour mixture in the prepared pan, lay a piece of plastic wrap directly on the chocolate mixture, refrigrate for at least 3 hours or until solid.

Dust with cocoa powder and cut into 1 inch squares. Store in an airtight container in the fridge. See notes above*

Enjoy!!!

Stuffed tomatoes with rice, lamb and basil pesto {gluten free}

Stuffed tomatoes

Stuffed foods, particularly vegetables, are a favorite in Israel and across the Middle East. We stuff just about anything in this neck of the woods: grape leaves; giant beets and Vidalia onions; eggplant and zucchini; tripe for the Shabbat hamin; bulgur-wheat dough balls filled with seasoned ground meat called kibbeh; and even stuffed carp heads for the Jewish New Year, Rosh Hashanah!

On special gatherings and during the holidays, mom would make (and still makes to this day) a glorious pot of bell peppers and cabbage leaves stuffed with a mixture of rice and meat, and festive Cornish game hens stuffed with jeweled rice -- a Persian-style steamed Basmati rice decorated with bits of dried fruits (and sometimes slivered almonds and pistachios).

A few years ago, while working as a freelance recipe contributor for the Israeli magazine Laisha, I was asked by the food editor to develop recipes for their annual monthly calendar. While I was brainstorming ideas for the month of July, the first ingredient that came to mind was tomatoes.   

Around the same time I was writing the recipes for the calendar, the first farmers’ market opened at the Tel Aviv port Shuk Hanamal. At the crack of dawn, farmers from regions far and wide bring their fresh fruits and vegetables; creating vast, colorful displays that attract buyers who appreciate the balance of exceptional quality and value. Friday mornings are special. Outdoor stalls welcome guests, who interact with the local growers. You can transform a whole week’s menu by adding produce from your local farmers’ market, the inspiration for this dish came right there and then.

When I was growing up in Israel, we had only one type of tomato! Nowadays, Israelis enjoy a wonderful variety of tomatoes, such as heirloom, cherry, grape, beefsteak and plum… tomatoes in all shapes and colors. Among them, the Tomaccio -- a special cherry tomato cultivated by several laboratories in Israel. Although tomatoes are grown year-round in greenhouses, the summer months are the natural peak season for the tomato harvest. For my best results, I always buy tomatoes that aren’t quite ripe and leave them on the kitchen counter to sit at room temperature, out of direct sunlight. This way, I can keep an eye on them and use them at their optimum desired firmness or ripeness.

This is my take on a classic Mediterranean-inspired dish. The emptied cavities of the tomatoes are being shmeared with a generous amount of fragrant basil pesto and stuffed liberally with a flavorful meat and rice filling that will transport you to Greece and Italy with the very first bite!

The stuffing and the pesto can be made way in advance. Serve them warm or at room temperature with a drizzle of good quality extra virgin olive oil, a dollop of tangy labneh and a leafy salad, if you like!

Support your local farmers’ markets!  Go visit and look for inspiration. Take a chance on a new ingredient. And don’t forget the tomatoes. :-)

Basil pesto

Stuffed tomatoes with rice, lamb and basil pesto

By Tal Shofman-Schejter

Serves 12

Ingrediends
For the basil pesto:
2 bunches of fresh basil leaves
2 garlic cloves, peeled
2 tablespoons pine nuts, toasted
1/3 cup good quality extra virgin olive oil
1/4 cup grated parmesan cheese
Salt and freshly ground pepper to taste

For the filling:
12 ripe and firm medium-large tomatoes
1/4 cup pine nuts
5 tablespoons extra virgin olive oil
1 medium red onion, peeled and thinly sliced
200 gr. ground lamb or veal
3 cups pre-cooked basmati rice
6 oil-packed sun dried tomatoes, drained and finely chopped
Salt and freshly ground pepper to taste

To Serve
Labneh (optional)

Method
Pesto:
Put all the ingredients in a food processor or a blender and whiz together until you get a chunky consistency. Store in the fridge until you are ready to use it.

Stuffed tomatoes:
Preheat oven to 450f degrees.
In a medium skillet, heat 1 tablespoon olive oil over medium heat, add pine nuts and sauté until golden. Transfer to a medium bowl.

Add another tablespoon of oil and the sliced onion, sauté until golden.
Transfer to the bowl with nuts. Add 1 more tablespoon of oil to the pan and the ground lamb or veal and sauté, over high heat, stirring and breaking down the meat, until golden brown. Transfer the meat along with the cooked rice, sun dried tomatoes and season with salt and pepper.

Slice tops of tomatoes and scoop out flesh.
Place tomato shells in a baking dish just large enough to hold them in a single layer.

Season insides of tomato shells with salt and pepper. Shmear tomato cavities with a heaping teaspoon of pesto each. Fill each tomato with the filling, place back tops and brush tomato skins with the rest of the oil, season all over with more salt and pepper.
Bake until tomatoes are soft and warmed though, for about 30 minutes.

Serve warm or at room temperature drizzled with high-quality extra virgin olive oil and a dollop of labneh.

Enjoy! xx

*This recipe was originally published in Laisha Magazine.

Stuffed tomatoes2

Mini Lemon and pistachio pavlovas {gluten-free} and a new blog

Mini lemon and pistachio pavlovas1

Hello there, I'm so happy you are here!!!  I am so excited to finally be here with my first post!

I had been thinking about starting a food blog for quite a long time, but the perfectionist in me wanted to make sure everything was just right before launching.

You know, it's like a person who is new to cooking or baking. Eventually, you've got to take the ingredients and make the dish and surrender to the process and to the results; have fun with it, grow with it. I decided, I've got the ingredients so it's time to overcome my perfectionism and the fear of feeling 'not ready yet'. To some a hard-boiled egg is considered ready. To others, a soft-boiled egg is ideal. Who really knows what "ready" means? ;-)  I'm taking the plunge to start blogging!

I took the photos for this post a while back, during a food styling and photography workshop with the talented duo Danya Weiner and Deanna Linder from Matkonation, yet from the start I knew this recipe would be my very first post.

I was drawn to the kitchen from a very young age and have always loved cooking and baking with my parents and grandmother. They exposed me early on to a world palette that drew from Middle Eastern and European influences, and beyond. They are my greatest food inspiration!

As a little girl I remember standing on a stool with my chin barely reaching the kitchen counter, watching my mom whip up egg whites into a meringue that later would be gently folded into a chiffon cake batter. To properly teach me the difference between soft and stiff peaks, mom would flip the mixer bowl upside-down above my head. I was hooked! As I gained confidence in the kitchen, mom let me gradually add the sugar to the bowl. The best part was being seated on the counter, getting the all-important job of licking the bowl clean while the cake was in the oven!

Passover is just around the corner and what could be a more fitting recipe to start my blog than a flourless meringue-based dessert? The Pavlova!

The real challenge for me has always been preparing dessert for the Passover Seder (a Jewish ritual feast that marks the beginning of the holiday). For Passover, foods cannot contain any gluten, and has to be prepared in large quantities to feed a crowd.

This Pavlova is crisp on the outside and chewy on the inside. It's creamy, tangy and just the kind of heavenly, light dessert you need right after the enormous Passover Seder, or any other large meal.

Mini lemon and pistachio pavlovas1
Mini lemon and pistachio pavlovas2

Mini lemon and pistachio pavlovas

By Tal Shofman-Schejter

Serves 16

Whenever I'm asked for my pavlova recipe, people are always surprised how fast and easy it is to make the meringues. They are baked for only an hour and 15 minutes and the good news is you can make all the dessert components ahead of time and just leave the lemon mousse preparation for the last minute. Whip the cream for the mousse and gently fold it into the lemon curd right before you serve it.

Baker's notes:

  • When making the meringue, in order to achieve the fluffy, light texture, the sugar must be completely dissolved. Rub the warm egg white/sugar mixture between your fingers making sure no sugar granules are left and the mixture is smooth to the touch.

  • You'll need a candy thermometer to make the meringues. It's a very usefull tool to have in the kitchen.

Ingredients
For the meringue:
4 large egg whites, room temperature
1/4 teaspoon cream of tartar
1 1/4 cups (300 g) granulated sugar
1 teaspoon distilled white vinegar
1 tablespoon corn starch

For the lemon mousse:
3 yolks + 1 large egg
3/4 cups granulated sugar
2 lemons, zested
1/2 cup fresh lemon juice
20 gr butter, cubed, room temperature
1 cup heavy cream

To serve
1/3 cup toasted and finely chopped pistachios

Method
Meringues:

Preheat oven to 100C/200F degrees. Line two baking sheets with parchment paper.

In a heatproof bowl of a standing electric mixer, combine the egg whites, cream of tartar and the sugar. Set over a small pan of simmering water. Using a candy thermometer, whisk constantly by hand until sugar is completely dissolved and mixture is smooth to the touch (*see baker's notes) and register 70C/160F degrees.

Transfer bowl to a mixer fitted with a whisk attachment and beat meringue on high speed until stiff, glossy peaks form and mixer bowl is cool to the touch; about 8-10 minutes. Add vinegar and sift in the corn starch. Whisk until just combined.

Using a pastry bag fitted with a 24mm plain icing tip or two spoons, pipe/scoop 1/4 cup mounds of meringue onto parchment lined baking sheets, making sure they are 2 inches apart.

Use the back of a spoon to create an indentation in the center of each mound. Transfer baking sheets to the oven. Bake for about an hour and 15 mintues or until meringues lifts off parchment easily and dry to the touch. Take out of the oven and cool completely. Meringues can be kept in an airtight container for up to 3 days.

Lemon mousse:
Combine egg, yolks, sugar, lemon juice and zest in a medium heatproof bowl set over a pan of simmering water. Cook, whisking constantly until mixture is thick enough to coat the back of a spoon, buttermilk like consistency. Remove from the heat. Add the butter, whisking until smooth. Strain through a fine sieve into a medium bowl and cover with plastic wrap, pressing it directly on surface. This will prevent skin from forming on top of the curd. Refrigerate until, firm and chilled, for at least 3 hours or up to 3 days.

Reserve 2 tablespoons of curd and set aside. Right before you serve the Pavlova, whip cream until soft peaks form and gently fold into the rest of the lemon curd, marble in the mousse the reserved 2 tablespoons.

Top meringues with a dollop of lemon mousse. Sprinkle with toasted pistachios and serve immediately.

Enjoy and Happy Passover to all those who are celebrating! xx

*This recipe was first published in Laisha magazine

Mini lemon and pistachio pavlovas2